Building the Chesapeake Bay Flattie
Apprentice Level 1 Kit by Midwest Products
Chapter 2: The Deck
Dry-fitting the Deck
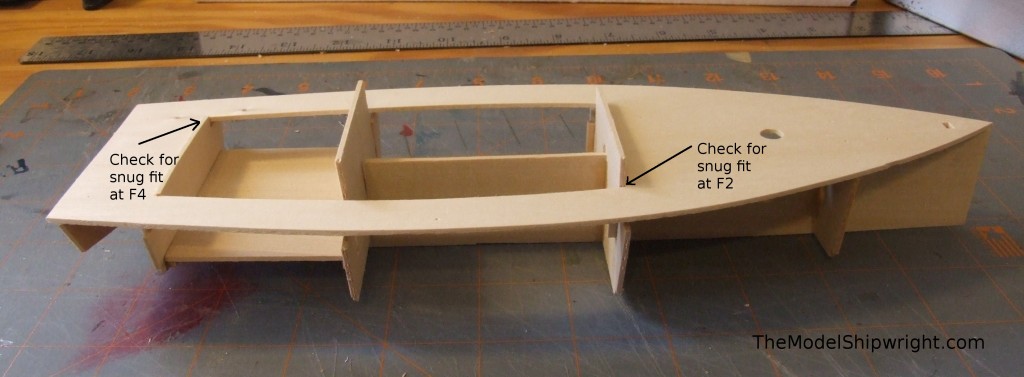
Next we add the deck to the keel and bulkheads of our Chesapeake Bay Flattie. It’s always a good idea to dry-fit parts before assembly, so before getting out the glue, fit the deck into position on the keel and bulkheads, pressing the deck into place against the curve of the bulkheads to see if any sanding must be done, especially at the front of the deck opening resting against the front of bulkhead F2 and the rear of the deck opening that rests on the rear face of bulkhead F4 as noted in Figure 7.
Gluing the Deck with slow-setting glue:
Once you are sure the deck fits accurately, the instructions that come with the kit suggest removing the deck, applying glue to the top of the keel and bulkheads, and then pressing the deck into place. This will work if you are using a slow-setting glue like white glue or model airplane cement, but if you are working with cyanoacrylate glues that have rapid set times, I recommend a different approach.
Gluing the Deck with Cyanoacrylate Glue:
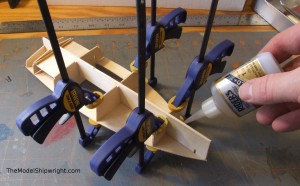
While slow-setting white glue or even old-fashioned model airplane cement will work fine for assembling your Chesapeake Bay Flattie ship model kit, modern cyanoacrylate glues will speed up the process of assembly. They are available in a wide variety of thicknesses and setting times, allowing the user to use several different varieties depending on the specifics of the joint being glued. So, if you decide to go with this type of glue, we suggest following these steps:
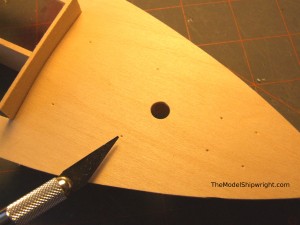
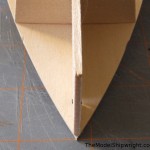
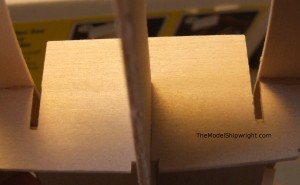
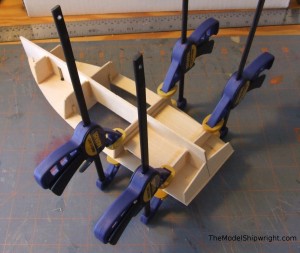
Once you are sure of an accurate fit, and the side of the deck with dimples in it, shown in Figure 8, is facing up (this is very important, as these dimples will later be used to locate holes that must be drilled for deck fittings), make sure the bow of the deck is centered on the front edge of the keel as shown in Figure 9. Use a couple of micro bar clamps to hold the deck in place at F1. Make sure the deck does not block the slots in bulkhead F3, as shown in Figure 10, and use a couple more bar clamps to hold the deck in place at bulkhead F2. Once you are absolutely sure the deck is in the proper position, add a small bead of cyanoacrylate along the joint between the deck, bulkheads F1 and F2, and the keel between the bulkheads, as shown in Figure 11. Even thicker, gel-type gap-filling cyanoacrylate glues will wick into the tight joint to form a strong bond.
In a few minutes, when the glue has set, move the clamps to bulkheads F3 and F4, making sure the slots in F3 are still not blocked by the deck, as shown in Figure 12. Add a bead of cyanoacrylate along the joint between the deck and bulkheads F3 and F4.
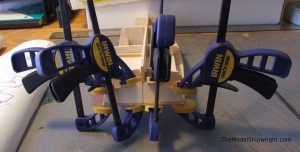
Finally, as shown in Figure 13, use all the clamps to press the deck into place against the transom. This is your last chance to realign the transom, which will be prominent in the finished model, so make sure it is is properly aligned and square with the keel, then add a bead of cyanoacrylate glue to the joint.
Back to Chesapeake Bay Flattie Introduction
Back to Chapter 1: Assembling the Keel and Bulkheads
Chapter 3: The Mast Step and Bow Stiffeners
Chapter 4: Keel and Chine Strips
Chapter 5: Installing the Cabin
Chapter 6: Planking the Hull
[…] 1: Assembling the Keel and BulkheadsChapter 2: The DeckChapter 3: The Mast Step and Bow StiffenersChapter 4: Keel and Chine StripsChapter 5: Installing the […]